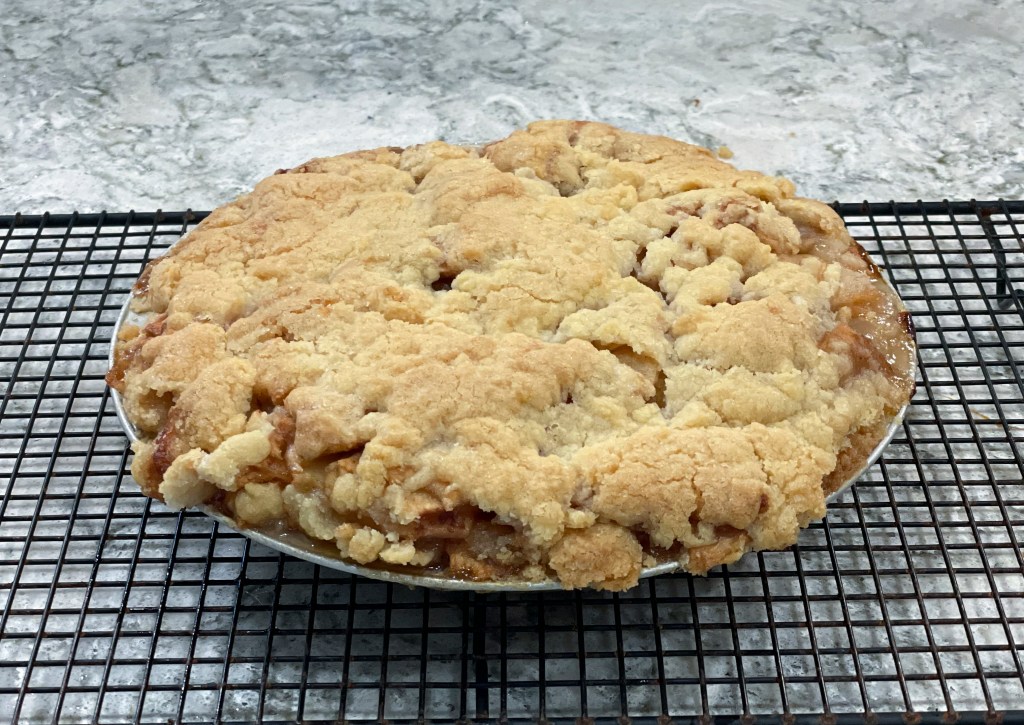
My sister-in-law Katie’s brown bag apple pie is full of the flavors of home. It’s everything an apple pie should be–flaky crust, simple ingredients, cinnamon, apples, crumb topping… Serve it a la mode, and it’s a grand slam home run! This pie comes together fast, but does take a while to bake. But it’s oh so worth the wait.
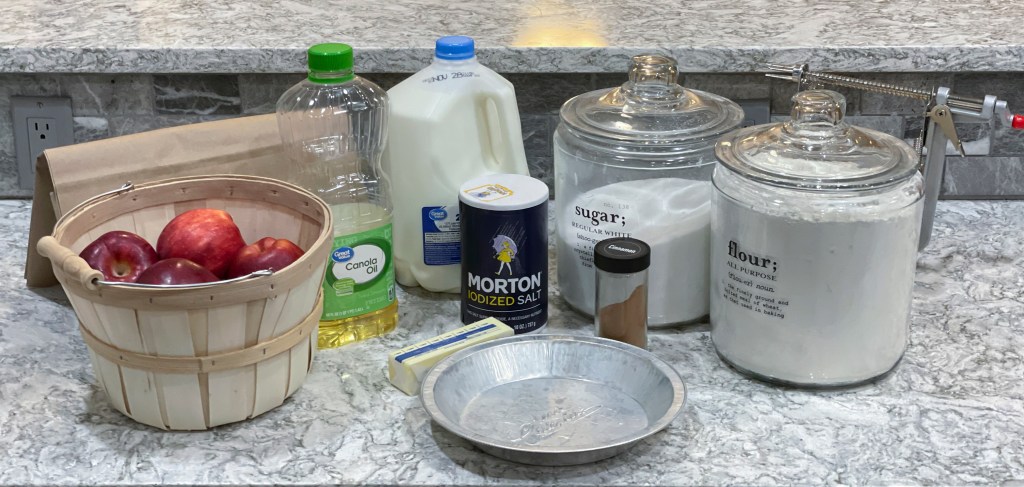
You’ll need flour, sugar, salt, cinnamon, butter, oil, milk, and APPLES–good pie apples, crisp and no too sweet. I used Braeburn apples for this pie.
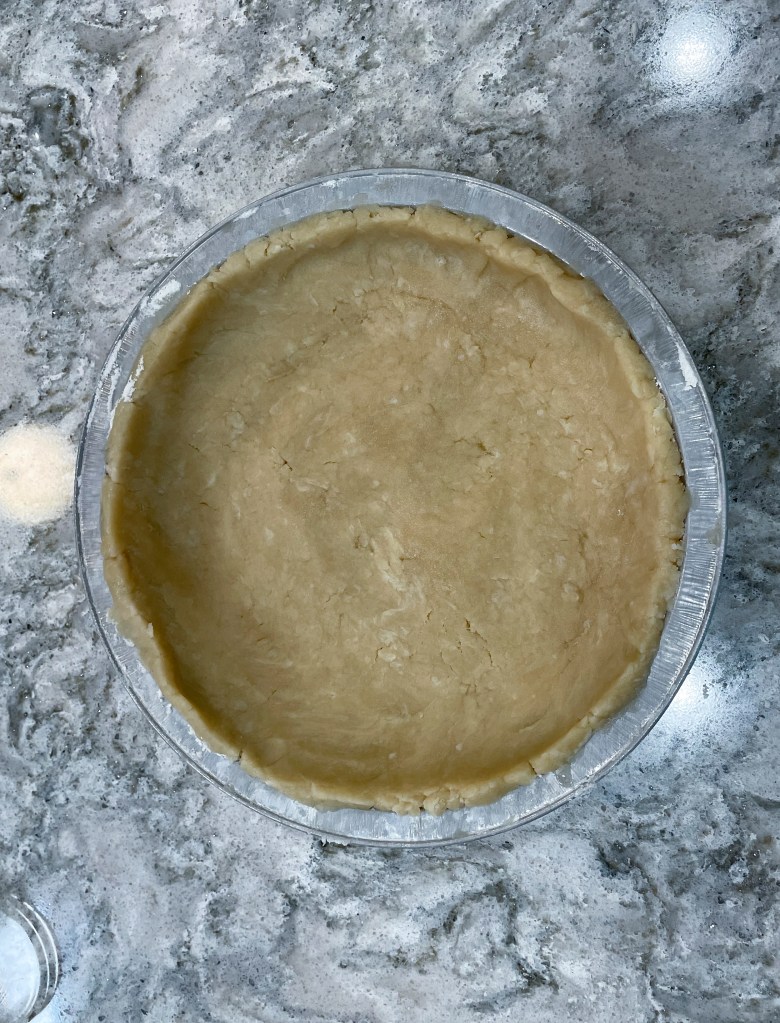
Add the flour, salt, and sugar to the pie tin and mix to evenly distribute the dry ingredients. Add milk and oil and mix together. Press the crust into the bottom and sides of the tin.
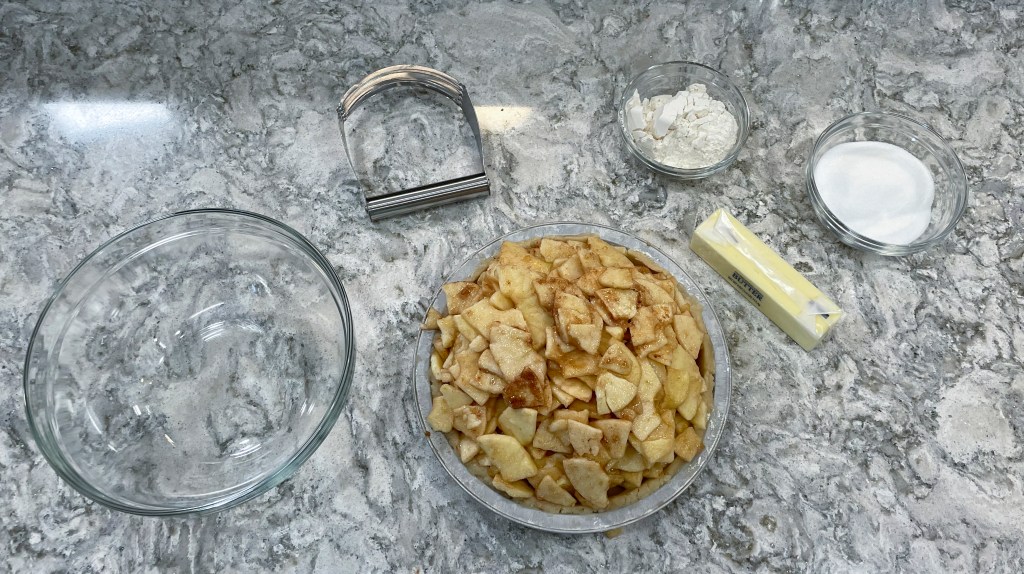
I used the Pampered Chef apple, peeler, corer, slicer to peel and slice the apples. You can buy a tool like this at almost any kitchen store. It definitely speeds up the process. Toss the sugar, cinnamon, and flour with the apple slices in a bowl. Fill the pie crust with the apples, pressing down on them to fit them all in.
Using a pastry blender, combine the butter, sugar, and flour together into a crumblike consistency. Pack the topping onto the apples.
Put the pie in a brown paper grocery size bag on it’s side and staple it shut.
Bake at 350 degrees for 1 hour 45 minutes.
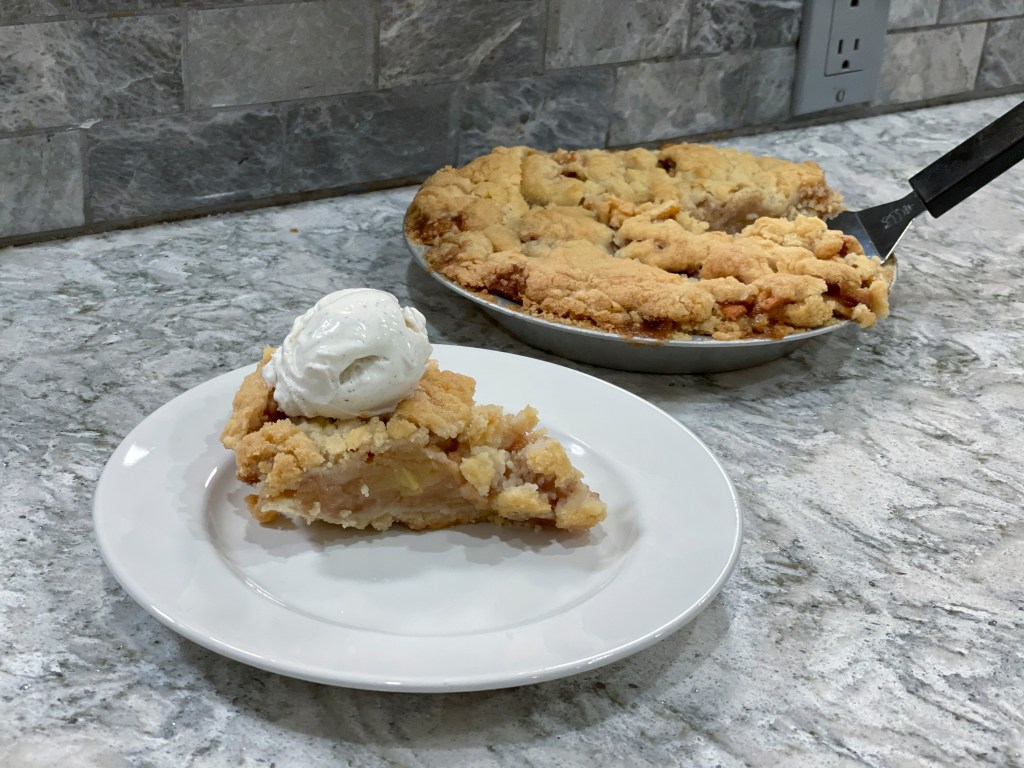
Serve warm. With vanilla ice cream. You’re welcome.
Brown Bag Apple Pie
From the Kitchen of Katie Hymas
Serves: 6-8
Prep Time: 30-45 min
Cook Time: 1 hr 45 min
Crust
1½ cups flour
1 teaspoon salt
1½ teaspoons sugar
2 tablespoons cold milk
½ cup oil
Mix the dry ingredients together in the pie tin. Add milk and oil and mix together. Press the crust into the bottom and sides of the tin.
Filling
6-7 apples, peeled and sliced
½ cup sugar
½ teaspoon cinnamon
2 tablespoons flour
Toss the sugar, cinnamon, and flour with the apple slices. Fill the pie crust with the apples.
Topping
½ cup flour
½ cup butter softened
½ cup sugar
Combine with the pastry blender and sprinkle over top of pie. Place pie in brown paper bag. Staple it shut. Bake at 350° for 1 hour 45 minutes.
I’m a little embarrassed to admit that I didn’t know what a cannoli was until about 4 years ago when my husband went on a business trip to Boston. While there, he had a little time to explore the popular tourist sites in Boston and stopped by Mike’s Pastry, a couple of times. He brought me home a cannoli, which admittedly is never as good when it’s a day old, but I was still hooked on the tasty dessert.
Mikes Pastry, Boston
After that, we discovered several bakeries in Detroit that serve really delicious cannoli and we were hooked. Whenever traveling, I always look to see if there is a good cannoli shop nearby.
Il Pirata Delle Cinque TerreMike’s Pastry, bBostonFerrara Bakery & Cafe, Little Italy, NYC
Feeling the craving yet? Unfortunately, Twin Falls, Idaho is not home to a cannoli shop. There are a couple of local restaurants that serve them, but, they are not quite the same. So….in true Hymas Family Favorites tradition, we learned how to make our own.
Start by making the dough.
Add the flour, sugar, cinnamon, and salt to a stand mixer with the paddle attachment. Mix on slow. Add the vinegar and mix until combined. Next, add the shortening. Finally, add the egg to the water, whisk, and add to the dough. Mix until combined, and then knead it for about 1 minute. The dough should be soft. Form it into a disk, wrap in saran wrap, and refrigerate for 30 minutes.
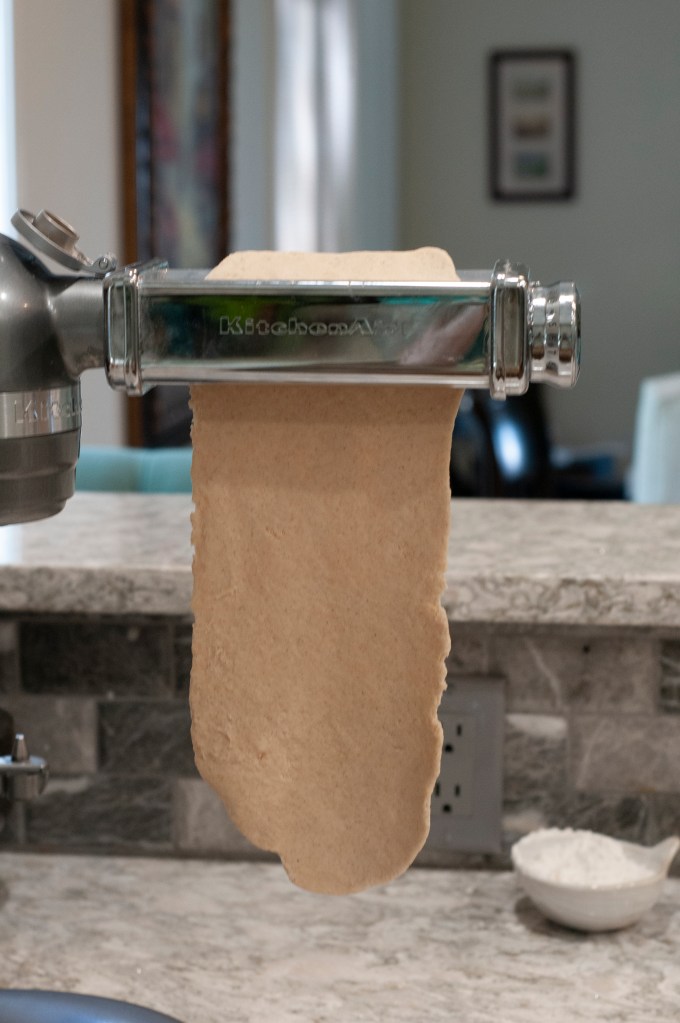
Next, take a generous piece of the dough and roll it out with a rolling pin.
The goal is to get to 1/16 of an inch. The easiest way to do that is with a pasta roller. I start on the widest setting (1) and step it down to a 3.
Now cut the dough with a round 3-4 inch biscuit cutter.
Pre-oil the cannoli forms and wrap the dough around the form. Dampen one edge of the dough with a wet finger and seal the dough around the form. Don’t wrap it too tightly or t will be difficult to remove after it’s finished frying. If you don’t have the forms, you can cut the dough into “chips” and serve it with cannoli cream as a deconstructed cannoli.
Put the dough on the forms into a deep fryer with the oil heated to 375 degrees. You can do this in a heavy pan on the stove top and use a thermometer, or you can use a deep fryer. I LOVE my deep fryer because it really helps to contain the mess, makes it easy to filter and contain the oil, and maintains the oil temperature for me.
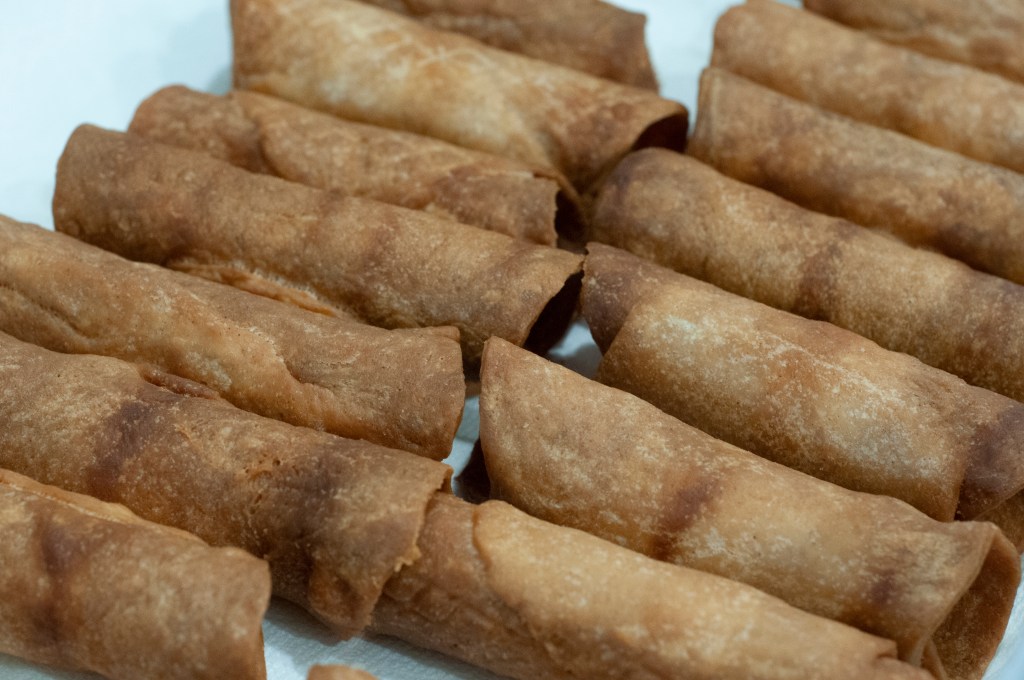
The shells will need to cook for 2-4 minutes until golden brown. I start turning the shells almost immediately to minimize any hot spots. You can also turn them half way through the cooking process. When they are finished cooking, pull them out and allow them to drain for a minute. Again, the basket on the deep fryer makes this a much easier step. After they are done draining, turn them onto some paper towels to help soak up the grease.
You’ll need to get them off the forms fairly quickly. They slide off much easier when they are hot, and depending on how many forms you have, you’ll need them for the next batch. I have a total of 12 which seems to be a good number to keep the process moving while allowing time for the forms to cool off enough between batches.
They key to this is using a thin flour sack type towel. I use one end to hold the form and the other end to grab the shell and pull it off. Be careful not to burn yourself. I recommend watching the video to see the technique for this. It’s not hard, but easier to visualize than to read about how to do it.
Let the shells cool completely before filling. Here is a recipe link for the filling.
Cannoli Shells
From the Kitchen of Lynnae Hymas
Serves: 30
Prep Time: 2-3 hours
Cook Time: 2-4 minutes per batch (12-24 minutes total)
INGREDIENTS:
3 ½ – 4 cups all-purpose flour (450+ grams)
2 tablespoons sugar
1 teaspoon cinnamon
1 teaspoon salt
¼ cup shortening
1 egg yolk
1 cup water
¼ cup white vinegar
INSTRUCTIONS:
Add flour, cinnamon, sugar, and salt to stand mixer with paddle attachment on slow. Add the vinegar and mix. Add the shortening. Mix the egg yolk and water together then add to the dough, which should be soft.
Knead the dough for about 1 minute and let rest in the fridge for 30 minutes. Roll into a sheet 1/16” (pasta roller stepped down from 1 to 3). Cut into a 3-4” circle and then wrap around a pre-oiled cannoli form. Dampen one edge with water using your finger to seal the dough.
Heat the oil to 375°F and starting with the sealed side down cook each cannoli shell for 2-4 minutes until golden brown, turning occasionally throughout the cooking time.
Using a thin towel, remove the cannoli from the forms immediately and allow to cool completely. Cannoli shells may be stored in the refrigerator in an air-tight container for 1-2 months. Makes 30 shells.
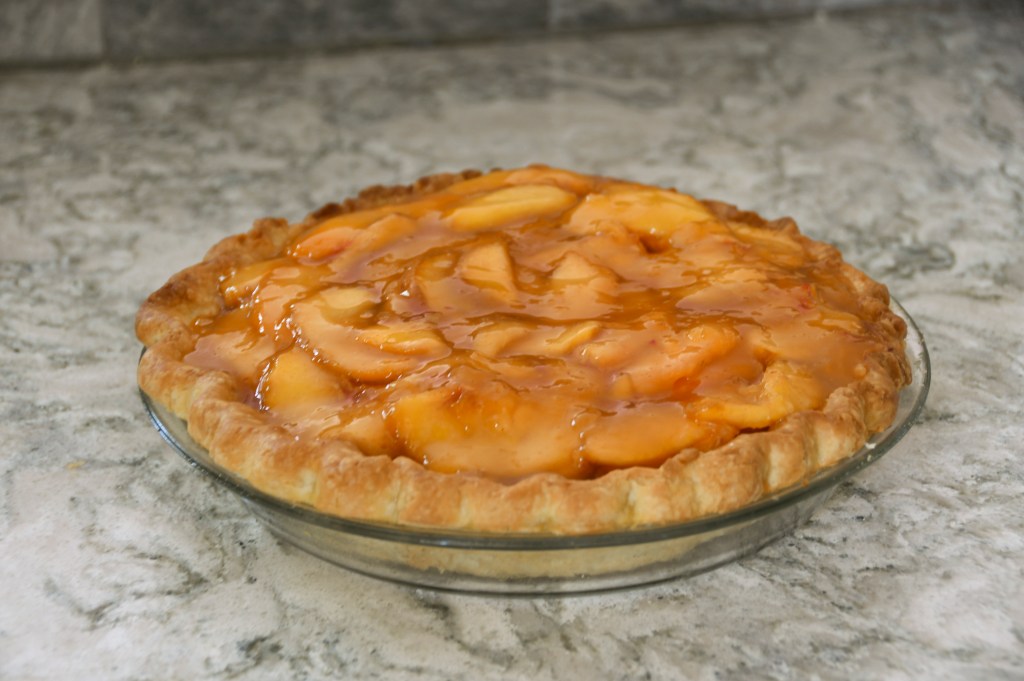
It’s peach season and what could be better than peaches and cream pie? This pie is one your family is sure to love.
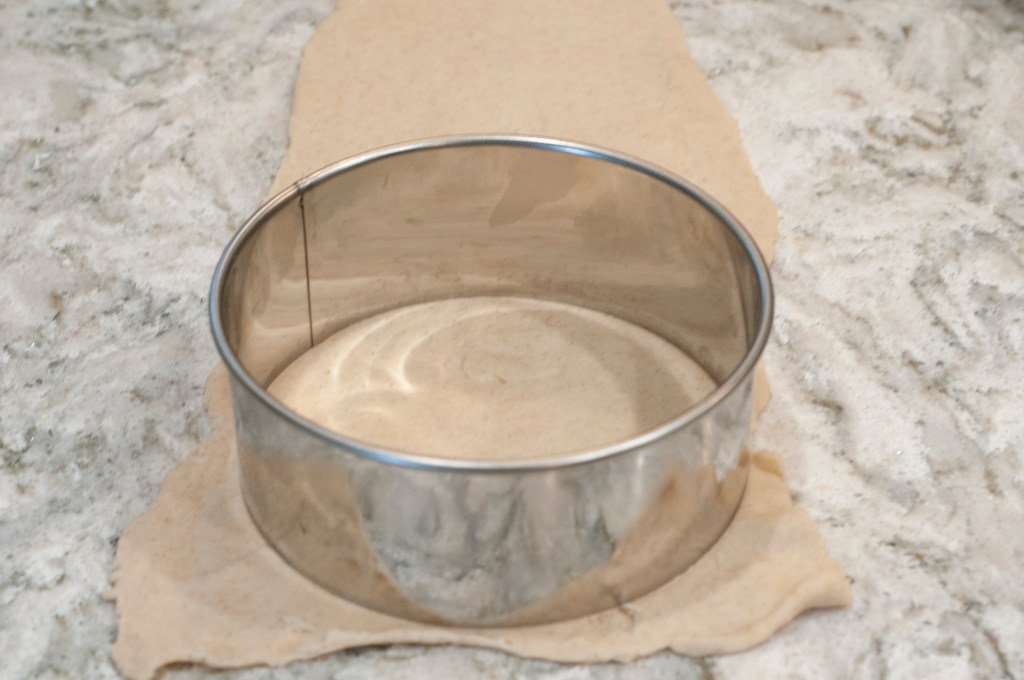
You will need to prebake a pie crust. You can make your own, use a refrigerator crust and bake it, or bake a frozen one. I have used all of these methods. I think the biggest bang for your buck if you are short on time is baking a frozen pie crust according to package directions. Marie Calendars is my favorite brand for frozen pie crust. I will also be posting my favorite pie crust from scratch sometime soon.
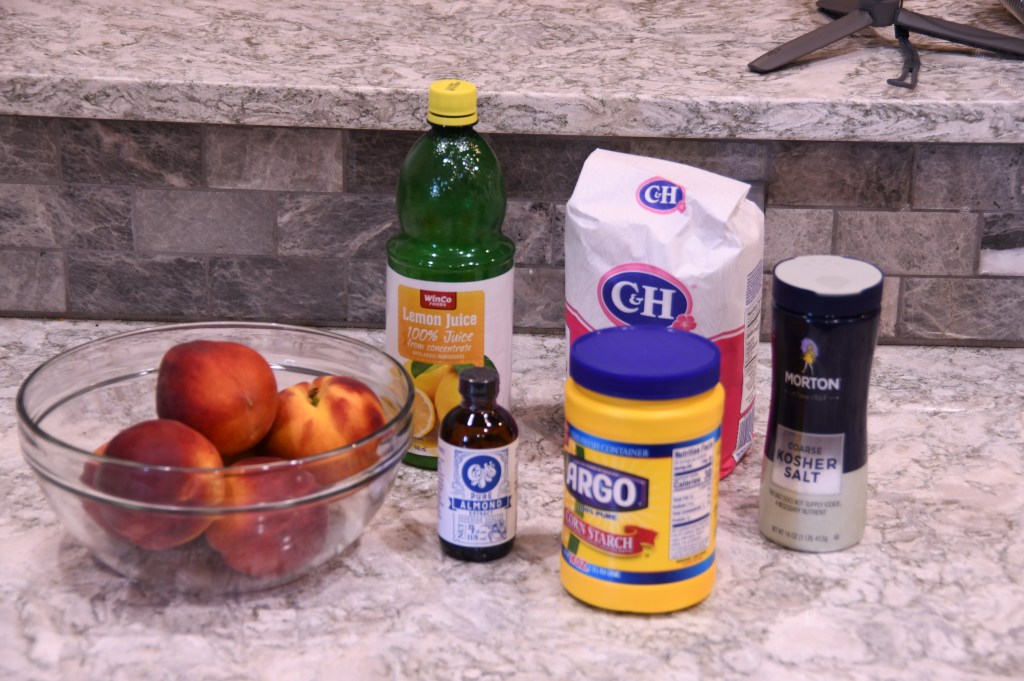
The first step in making the pie filling is to macerate your peaches. This means getting some of the natural liquid out of the fruit using sugar. This will make them soft and sweet and deliciously saucy. Peel the peaches, remove the peach pits, and slice the peaches into thin slices. You can also cut them into chunks, depending on how you want your pie to look.
After the peaches are sliced and in a bowl, add the sugar, almond extract, lemon juice, and salt. Toss all the ingredients together. From here, I like to put them right into a fine mesh strainer over a bowl to collect the juices. You’ll also need to use about 1 cup of the peaches for the glaze. I pull those out now and puree them in a blender or food processor, adding a little water as needed to get them to blend.
While the peaches are draining, we can focus on the cream filling. Add the cream, 1/4 cup of sugar, and the vanilla and almond extract to a bowl. You want to whip these together with a hand mixer until the cream forms into peaks. Next, cream together the mascarpone cheese and the remaining 1/4 cup of sugar, then fold the cheese mixture into the cream. It should be well incorporated.
For the glaze, in a medium saucepan, combine the sugar and the cornstarch. You will collect all the juice you got off of the macerated peaches and then use water to supplement the volume. You need 3/4 c. of total liquid. You also add the pureed peaches to the sauce pan and mix them well. Bring the glaze to a boil over medium high heat, stirring constantly. It should thicken up nicely. Once boiling, continue to cook and stir for 3 more minutes then remove from heat. Allow to cool for at least 10 minutes before assembly the pie.
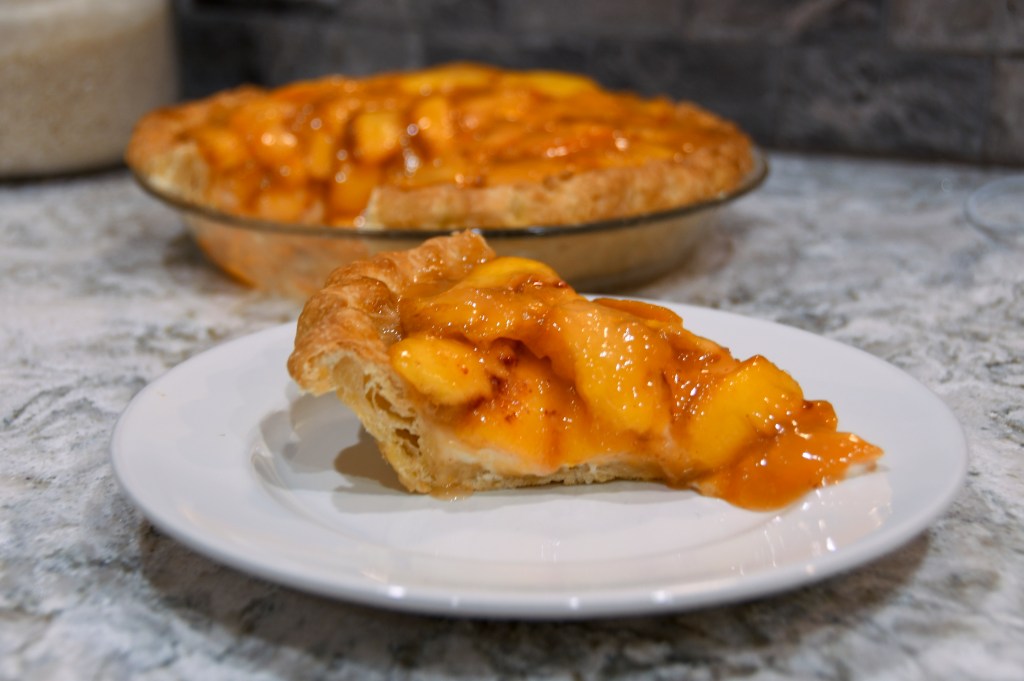
Now the fun part–we get to put all the pieces of the pie together. Fill the bottom of the baked pie crust with the cream filling. You can decide how thick you want the filling, but trust me, there’s really no such thing as too much. Cover the cream filing with a thin layer of the pie glaze. Arrange the peaches on top of the cream filling and glaze and cover them with the remaining glaze. Refrigerate the pie until completely chilled. Enjoy!
Fresh Peaches and Cream Pie
From the Kitchen of Lynnae Hymas
Serves: 6-8
Prep Time: 2 hours
Cook Time: N/A
INGREDIENTS:
Fresh Macerated Peaches
2-3 pounds peaches
¼ cup granulated sugar
½ teaspoon almond extract
1 tablespoon lemon juice
Pinch of kosher salt
Cream Filling
1 cup heavy whipping cream
½ cup granulated sugar
½ teaspoon almond extract
½ teaspoon vanilla extract
8 ounces mascarpone cheese, room temperature
Glaze
1 cup sugar
3 tablespoons cornstarch
¾ cup liquid from macerated peaches + water
1 cup pureed peaches
INSTRUCTIONS:
Macerated Peaches
Peel the peaches, remove the peach pits, and slice the peaches into thin slices. To a bowl, add the peaches, sugar, almond extract, lemon juice, and salt. Toss all the ingredients together. Place peaches in a fine mesh strainer over a bowl to collect the juices. Remove about 1 cup of peaches and puree them in a blender or food processor. Set aside the puree for the glaze.
Cream Filling
Beat the cream, ½ of the sugar, and the extracts together until cream forms into peaks. Cream together the mascarpone cheese and the remaining sugar. Fold the cheese mixture into the cream. Set aside.
Glaze
In a medium saucepan, combine the sugar and the cornstarch. Add the peach liquid and water as well as the pureed peaches and combine. Bring to a boil over medium high heat, stirring constantly. Once boiling, continue to stir for 3 more minutes then remove from heat. Allow to cool for at least 10 minutes.
Assembly
Fill the bottom of the baked pie crust with the cream filling and spread around. Cover the cream filing with a thin layer of the pie glaze. Arrange the peaches on top of the cream filling and glaze and cover them with the remaining glaze. Refrigerate until completely chilled.
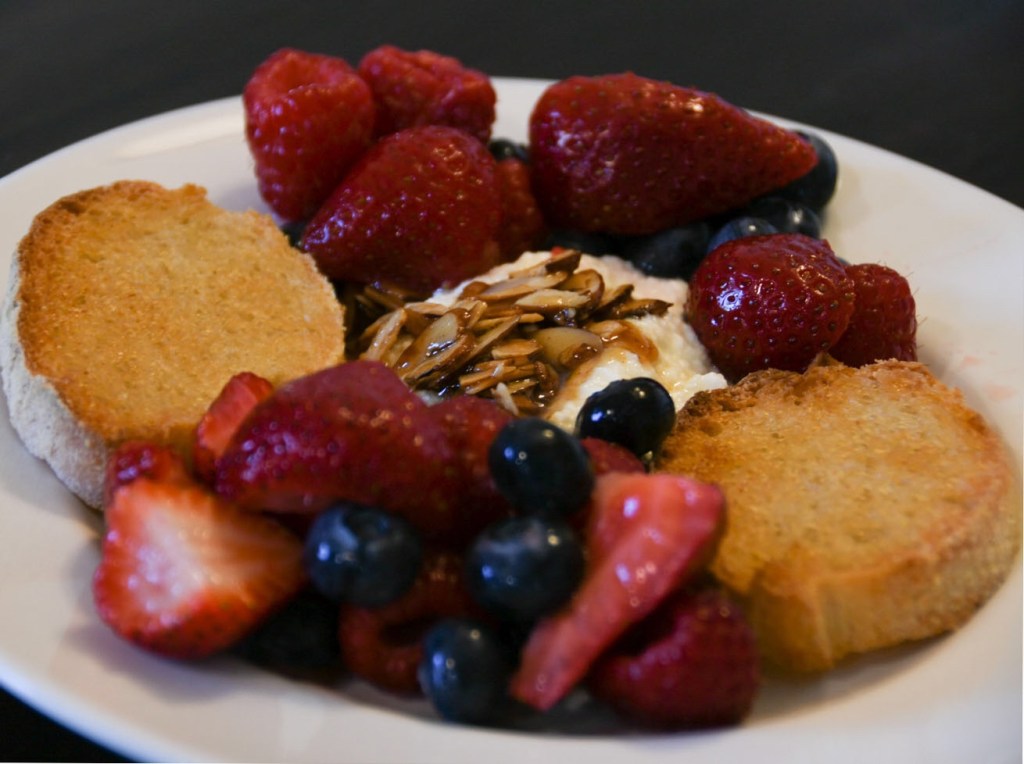
A few weeks ago, I was watching an episode of the Barefoot Contessa, and she made this unusual breakfast dish. I had to try it! It was an instant hit and we’ve made it several times since. I spread the ricotta and almonds right onto my toast. No butter needed. Yum!
This is one way to use the homemade ricotta cheese recipe I shared a few days ago. You start this dish with warm ricotta cheese. To the cheese, add 1 teaspoon of vanilla and 2 tablespoons of honey. Fold it together and set the cheese aside.
The next step is to candy the sliced almonds. Melt 2-3 tablespoons of butter in a sauté pan and add 1/2 cup of sliced almonds and a dash of salt. Stirring constantly, cook the almonds until they just turn golden brown. Do not leave them unattended. They will burn. Add 1/3 cup of real maple syrup and coat the almonds. The mixture should bubble up and caramelize. Set aside.
You can serve this with your favorite toast. (I turned a loaf of our sourdough ciabatta bread into crostini. I cut the bread into thin pieces, brushed them with olive oil, and toasted them in a 400 degree oven for 5-10 minutes until they were golden brown.)
From there, just plate the food. Put a dollop of ricotta in the middle of the plate. Top with almonds. And surround with toast and fruit.
This is absolutely a guest worthy dish. You can serve this as a sophisticated dessert or a light breakfast. Your guests won’t soon forget this meal.
Fresh mixed berries such as strawberries, blueberries, and raspberries, washed
Your favorite toast or crostini
INSTRUCTIONS:
While your homemade ricotta cheese is still warm, add the vanilla and honey and mix together. Set aside.
Melt the butter in a small sauté pan. Add the sliced almonds to the pan and sprinkle with salt. Stir the almonds until they turn a beautiful golden brown color. Add the maple syrup and coat the almonds in the syrup. Remove from heat and set aside.
To plate, put a scoop of ricotta in the center of a plate and top with a spoonful of the almonds. Serve with 1-2 slices of toast and a mixture of your favorite berries.